9 Extracting seed counts from photographs
9.1 Overview
This documents how one can use ImageJ to extract seed counts from a clean picture of seeds on a white background.
9.2 Taking the photo
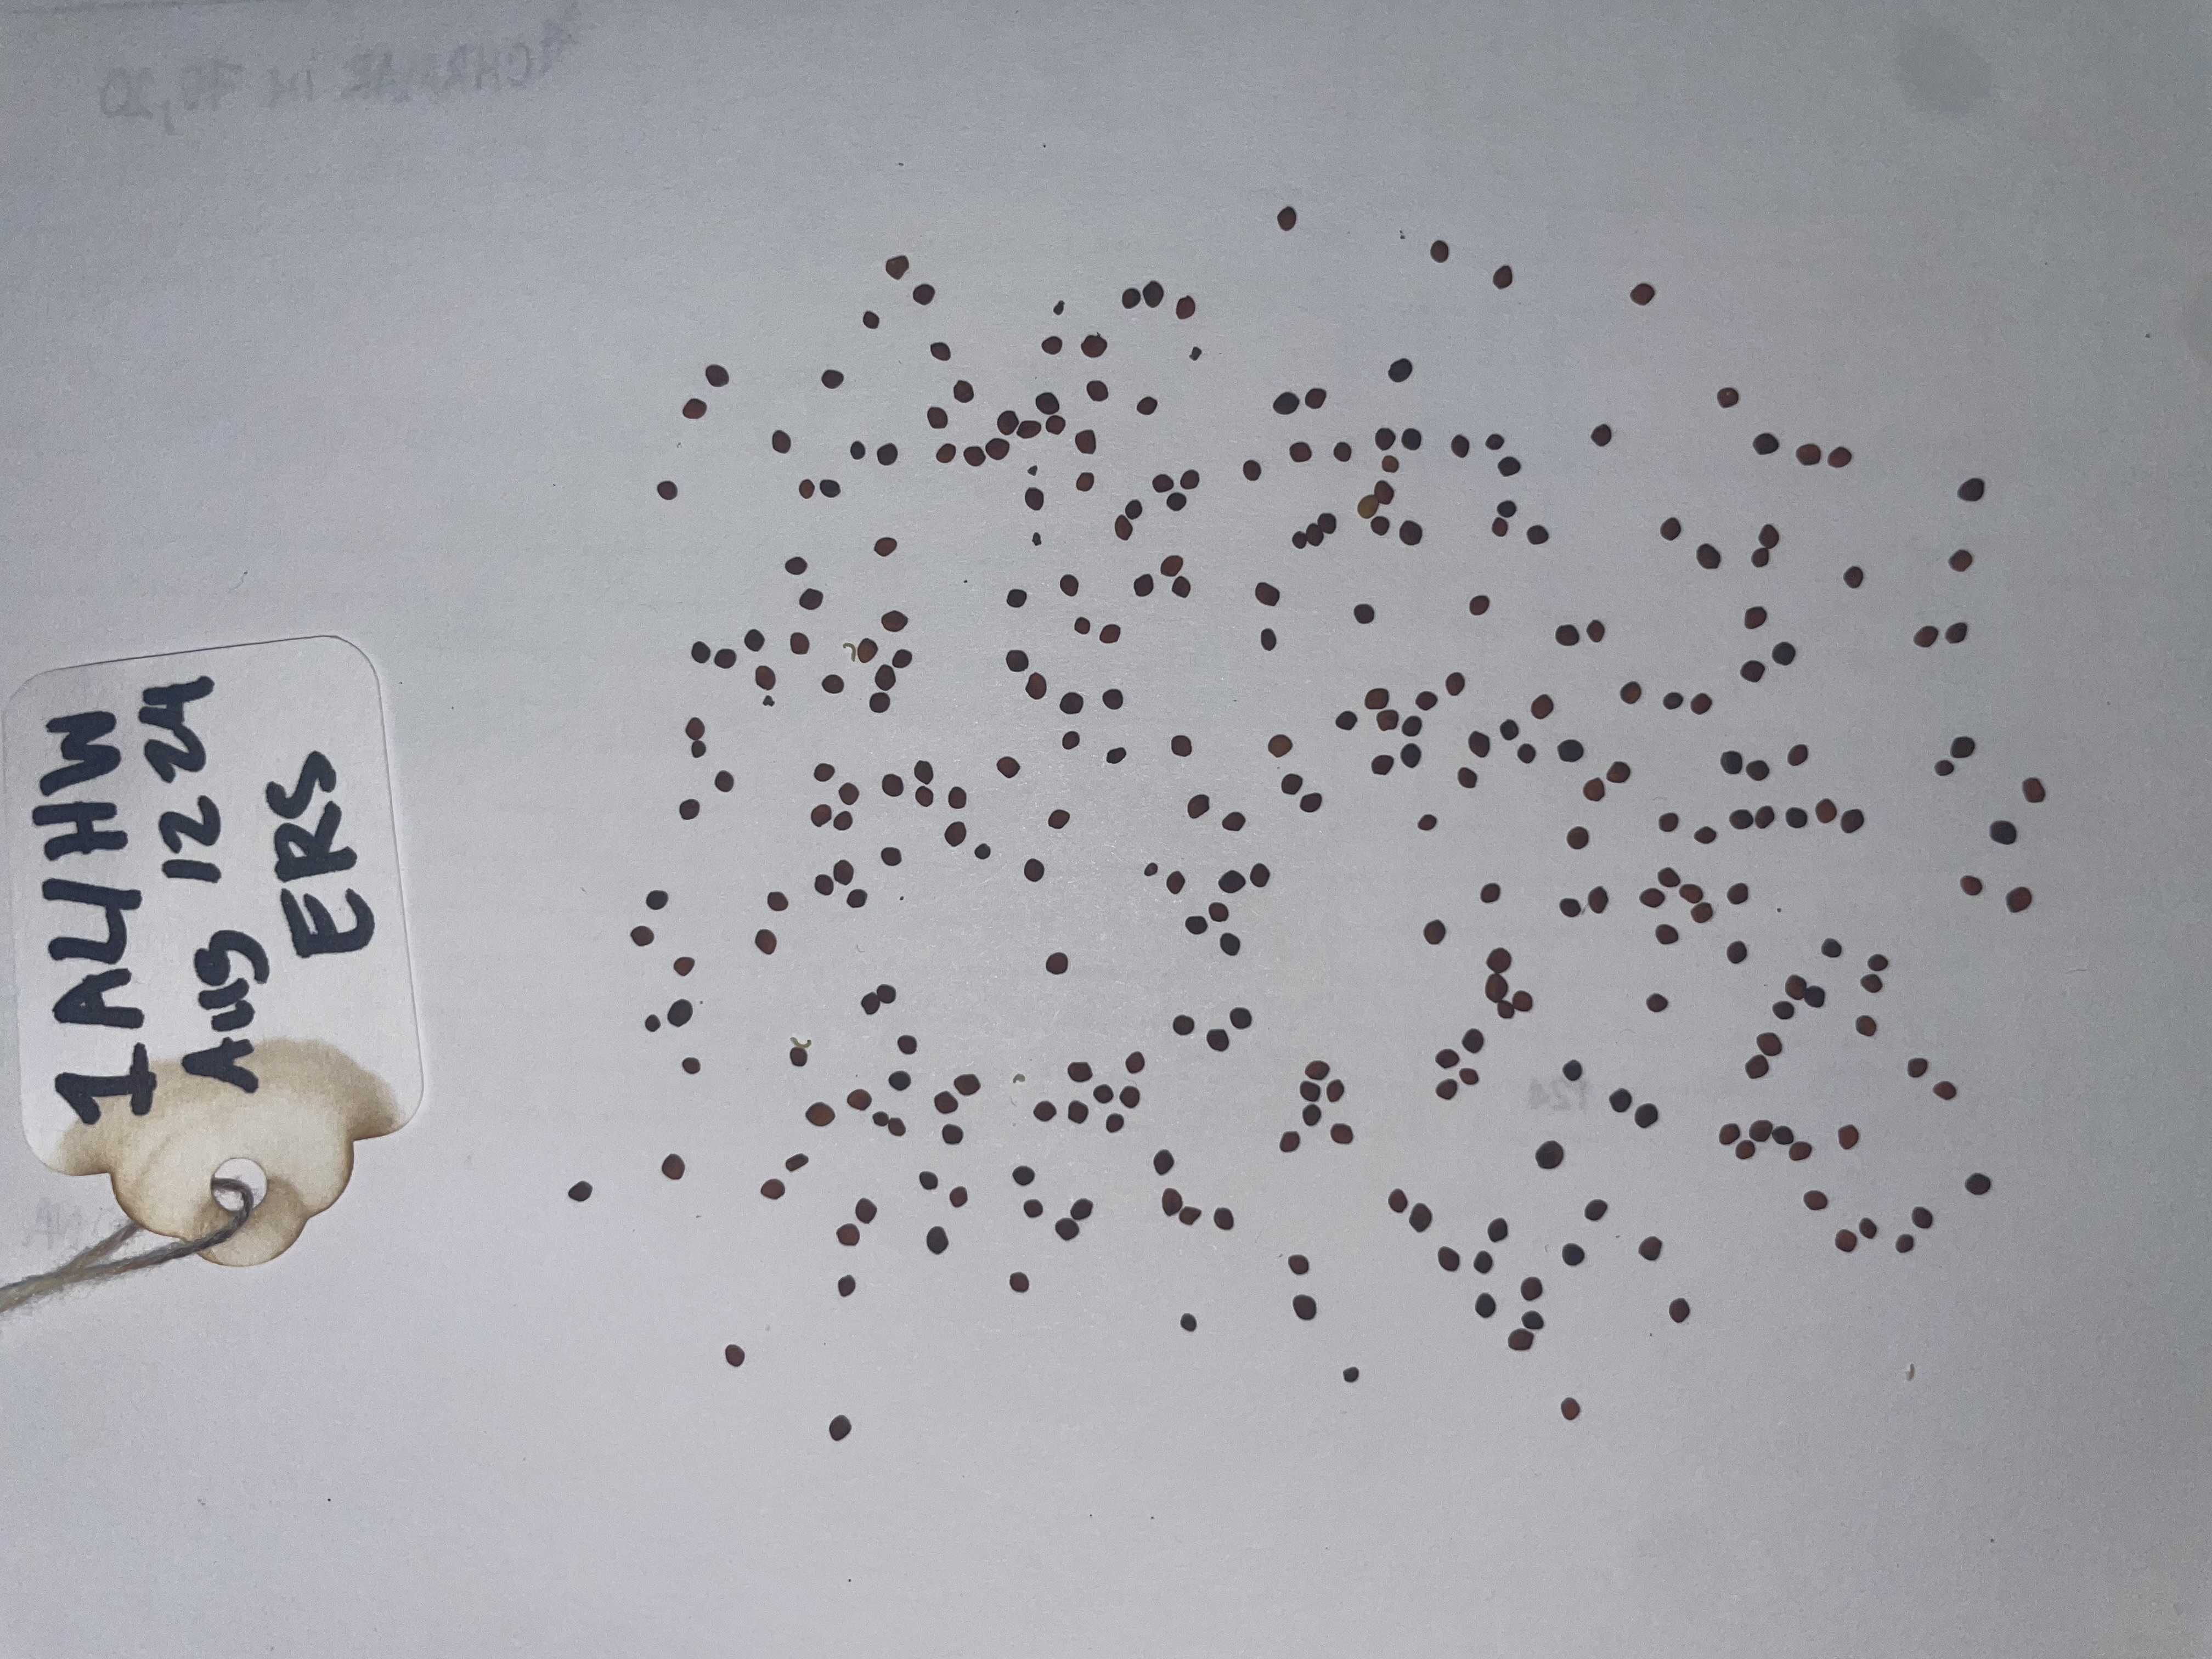
This step is pretty straightforward: the goal is to get a clean photo of the seeds (with as few flower bits, dust particles, or other contaminants) on a plain white background. I find it easiest to spread seeds on a plain white sheet of paper (leaving them in plastic trays leads to shadows in the picture, which can lead to mistaken seed counts). Also ensure that the photo includes something to identify the sample from which the seeds were derived.
Factors to consider while taking the photo:
- Leave a ~1cm border around the seeds, as objects at the edge of a photograph can be difficult to process
- Try to minimize reflections/shadows
- Make sure that each photo has a unique identifying tag (“1 AL/HW…” in the example below)
- Minimize instances in which two or more seeds are directly touching each other to make clumps, as this has the potential to generate under-estimates (e.g. a group of 3 seeds that are all touching each other can get lumped as 1 object by the software).
- If there are so many seeds that you can’t avoid clumping or leaving a border around the edge, split the batch into two photos (which are also to be uniquely identified)
- Save each photo with the same tag name that has been used for other measurements (e.g. the photo would be saved as “1_AL_HW.jpg”).
- If you are processing many samples in one go, please read the batch processing section below for steps to increase consistency and efficiency.

9.3 Counting seeds
Before proceeding with the following steps, ensure that you have installed ImageJ onto your computer. These steps are also summarized in the video below1.
1 or at this direct link.
- Before proceeding with any analysis steps, back up all photos into the lab “Raw data archive” on Box in an appropriately labelled folder. This ensures that even if we somehow mess up (or delete) an image through the imageJ processing, we always have a copy to return to.
- Open the seed photo through ImageJ
- [Optional, but recommended early in any project]. Make a duplicate of the photo using the shortcut “Control[/Command]+Shift+D”. Having this duplicate open helps to do “sanity checks” on the processed image.
- Through the ImageJ menu, click on “Image” –> “Type” –> “8 Bit” checkbox. This converts the photo into Black-and-White.
- Convert this into a Binary image by clicking on “Process” –> “Binary” –> “Make Binary”. Verify that the image looks to be OK; sometimes if the lighting is uneven across the image, the binary crops off some parts. In this case, you may want to change the thresholds.
- Convert the image into a Binary Mask by clicking on “Process” –> “Binary” –> “Convert to Mask”.
- In some cases, ImageJ might consider adjacent seeds as one object. You can check if this is the case by zooming into a clump of seeds and checking whether each seed is identified separately.
- To avoid the issue described above, click on “Process” –> “Binary” –> “Watershed”. This process draws boundaries between clumps of objects that are likely to be composites.
- We are ready to analyze the image to extract seed counts!
- To do so, draw a bounding box around the area of the photo with seeds (so that the photo tag is not counted as an object)
- After ensuring that the bounding box encompasses all seeds, click on “Analyze” –> “Analyze particles”. Make sure to select “Overlay” under the “Show” checkbox. Also select “Display Results”, “Summarize”, and “Exclude on edges”.
- Check using the overlay that (a) all seeds in the image are identified as objects, and (b) no debris is identified as a seed. If you do notice debris identified as seeds, close the analysis results, and re-click “Analyze particles”. Give a minimum size threshold, and reanalyze particles. The right size threshold will depend on the species you are working with, and on your photographs. For the B. rapa image above, a threshold of 400 seems to work well.
- Iterate step 11 until you feel confident that you are identifying an appropriate threshold.
- Save the output as desired in the CSV datasheet. If you are processing a batch of images, you can directly save the summary box that includes the total particle (seed) counts.